
Hard cider has become one of the most popular alcoholic beverages in America. The popularity of this beverage has risen dramatically over the past decade and will continue to grow in the years to come. Cider produces over $1 billion in revenue each year. In North America the market is predicted to grow 3.5% between 2022 and 2027. The cider-making process is very strenuous and time consuming.
Step 1: Gathering the Ingredients
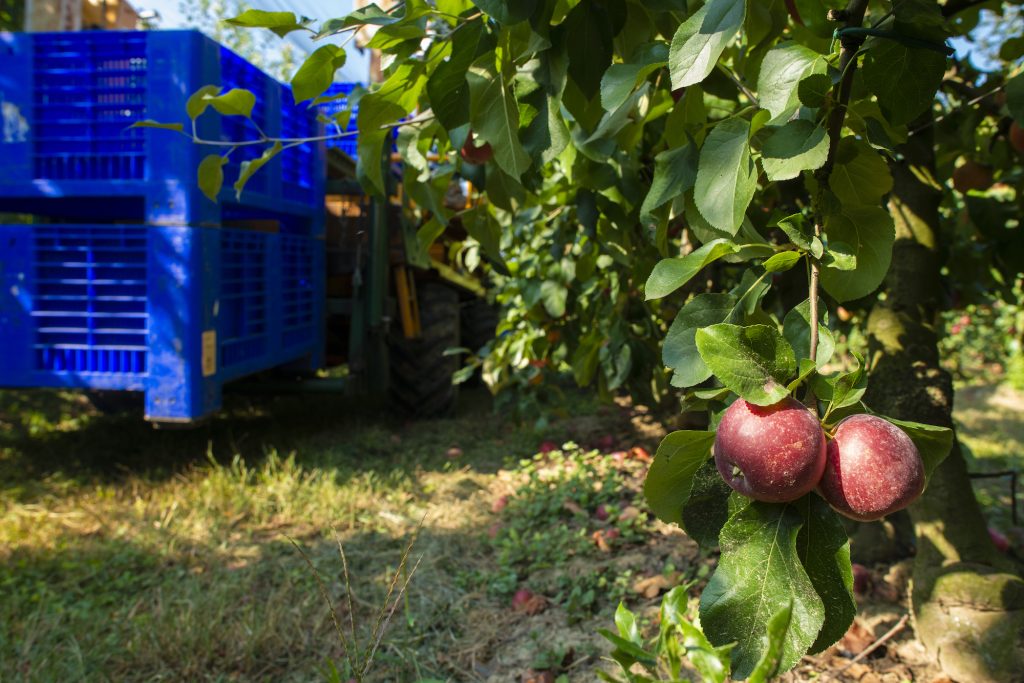
The first step of the cider-making process is finding the right ingredients. This starts by finding the correct apples for the type of cider that is going to be made. The apples are then washed and pressed in a machine to extract the juice. The machines used for pressing the apples range from a hand-operated device to an industrial machine. Those who are making their own cider at home can buy apple cider and juice to forgo buying the apples and pressing them.
According to an article from Michigan State University, some of the best apples for making hard cider include Golden Delicious, McIntosh, and Yarlington Mills (these are just a few of the many apples used when making hard cider). Using the right kind of apple is a vital part of the process. Different apples produce different flavors such as sweet, tart, bittersweet, etc. Some other ingredients that are needed include brewer’s yeast (not baking yeast) and sugar. Yeast converts sugar into alcohol during the fermentation stage.
Step 2: Prepare and Sanitize Equipment
The second step of the cider-making process involves gathering the equipment needed and making sure it is sanitized properly. According to Home Cider Making these are the tools that are needed for making hard cider:
- Cider Press: this is used for pressing the apples and getting the apple juice.
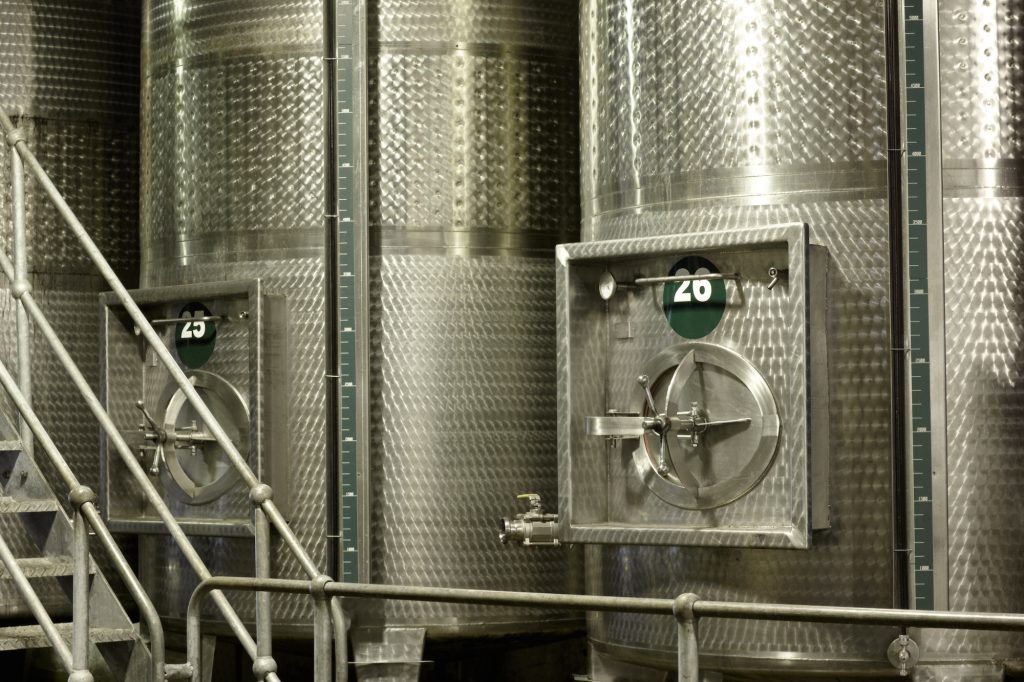
- Fermenting Vessel: apple juice and yeast is added to the fermentation vessel to start the fermentation process.
- Airlock: this is used during the fermentation process to allow gasses to escape.
- Hydrometer: this is needed to measure the sugar content in the cider.
- Auto Siphon and Hose: this is used to transfer the cider into the bottles or containers.
- Bottles and Containers: the type of bottle or container that is used depends on the users preferences.
- Scale: this is needed for measuring ingredients such as sugar.
- Acid/PH Tester: testing the cider is vital for balancing the acidity of the beverage.
Of course the proper cleaning and sanitizing is needed on all the equipment (as well as cups, spoons, measuring tools, etc.) before it touches the cider. There is a difference between cleaning and sanitizing. Cleaning removes what can be seen on the surface where sanitizing removes unseen contaminants.
Step 3: Fermentation
The third step of the cider-making process is fermentation. Fermentation is the process by which apple juice is made into cider. Brewer’s yeast (not baking yeast) is added to the apple juice and together they convert into alcohol. Sugar may need to be added to the cider during fermentation depending on how much is being produced. The apple juice has natural sugars already in it, but more may need to be added. Ingredients such as fruit, acid, and tannin may need to be added depending on the recipe. Use the hydrometer to measure the sugar content in the cider.
The fermentation process can take anywhere from a few days to a few weeks. This depends on the amount of yeast that is added and the amount of cider that is being produced. The airlock needs to be attached to allow gasses to escape. According to Expert Brewing, the container needs to be placed in an environment that is 65 to 75 degrees (the closer to 65 the better). It is important to carefully monitor the cider during the fermentation process. The cider could become over-fermented if it is not watched closely.
Step 4: Bottling and Aging
The fourth step in the cider-making process is bottling and aging. Before the cider is bottled it needs to be racked. This means the cider needs to be transferred from the fermentation vessel to a clean container. This can be done using the siphon and hose. Depending on the type of cider and the recipe, additional ingredients may need to be added after the cider is racked.
Aging is done to improve both the flavor and aroma of the cider. This can be done using barrel aging, bottle conditioning, or cold storage. Once again hydrometers are used to check the gravity (amount of sugar) in the cider. Barrel aging involves aging the cider in oak barrels which adds a woody flavor to the cider. Bottle conditioning is where additional sugar and yeast are added to the bottled cider; this causes a secondary fermentation which improves the flavor. Cold storage is where the cider is stored in a low temperature area.
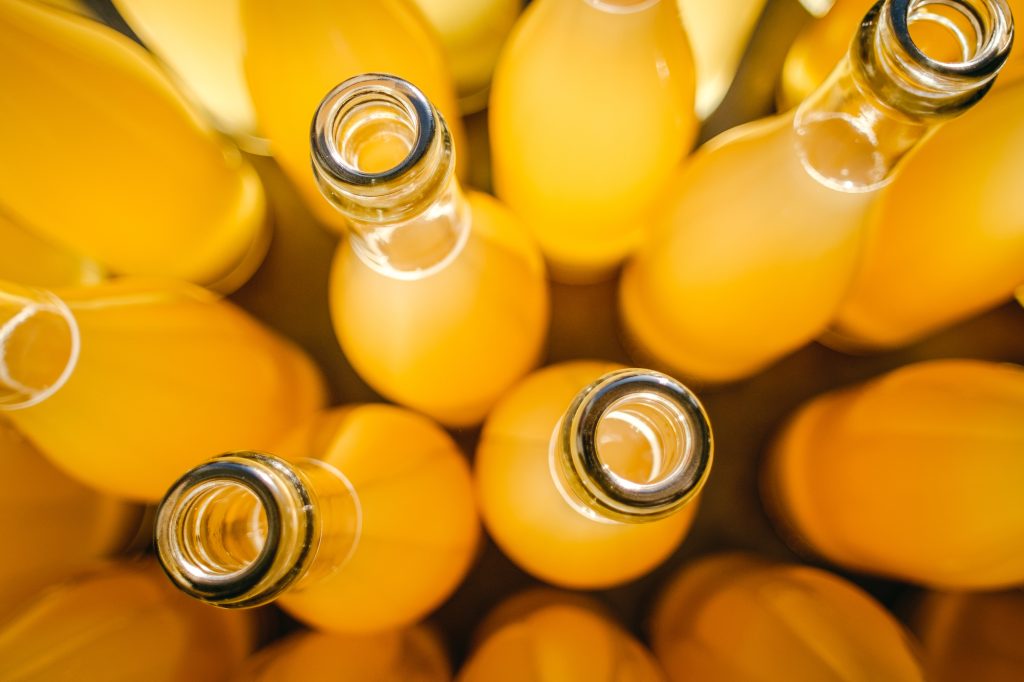
The cider is then bottled using the auto-siphon, tubing, and bottle filler. The bottle cap needs to be put on loosely while the other bottles are being filled. This allows CO2 gas to fill up the headspace of the bottle. Then the cap is crimped on with a bottle capper.
Step 5: The Most Important Step of the Cider-Making Process – Enjoy!
The cider-making process is not a quick or easy task. However, the final product makes this time consuming activity well worth the wait. Now that the cider has been produced it is ready for sale and consumption. The cider-making process involves a lot of trial and error; this is the time to try the batch and decide what was done well and what can be done differently next time.